CrowPilot Installation Instructions
FAQ
Are there any SRA associated billing requirements needed to use the plugin?
- There are no SRA associated billing requirements. Clients only pay Azure fees for the App Service it uses in the client tenant. It’s about $50 a month.
Is there a technical reason why a container was leveraged over a standard OpenAPI plugin?
- A container was leveraged because we are not just brokering API calls but combining collections of them in simplified ways that align with common SOC needs. We’ve also included features to provide custom health check scoring and recommendations analysis for configuration hardening. All of this required the full control of an application service.
Does SRA or any other 3rd parties have access to user prompts, responses, or other information sent through the container?
- No. It has no call-home capabilities. SRA encourages users to allow-list all inbound and outbound connections for security purposes, and the only outbound connection you’ll need to allow is to the Crowdstrike API servers.
If customers have a need for custom plugin development or new features for CrowPilot, is that a service that SRA can provide?
- Yes! We love to build cool stuff for our clients. Please reach out anytime to CrowPilot@sra.io or your regular contact at SRA to discuss.
Can I have a pin and stickers?
- Yes! Just send us your address and shipping info.
Do you have a quick security checklist I can refer to for deployment?
- Key Security Considerations
- Consider allow-listing IP addresses for accessing Crowdstrike API, and include those being used by CrowPilot App Service.
- Utilize the inbound and outbound network restriction features to ensure only Security Copilot can access CrowPilot, and that CrowPilot can only access the Crowdstrike API service.
- Create a new Crowdstrike API key and set least privileges so it has only the access it needs for its functionality and nothing more.
- The service is set to auto-update from the latest SRA CrowPilot build. You can disable this by clicking ‘Deployment Center’ and then changing continuous deployment to ‘off’. In this case, you’ll need to manually pull new updates when we release new features.
CrowdStrike API Key Generation Instructions
1. From your CrowdStrike console, open up the menu in the upper right corner and click Support and resources followed by API clients and keys.

2. In the upper right, click Create API Client.

3. A new dialog box will appear. Give the API Client a name and description, the provide the following permissions for full usability of the CrowPilot plugin (refer to the CrowdStrike API Permissions table at the end of this guide, if you would like to limit some functionality of the CrowPilot plugin).

- Custom IOA Rules – Read
- Device Control Policies – Read
- Firewall Management – Read
- Hosts – Read and Write
- Host Groups – Read and Write
- Incidents – Read
- IOA Exclusions – Read
- IOC Management – Read and Write
- Machine Learning Exclusions – Read
- Prevention Policies – Read
- On Demand Scan – Read and Write
- Response Policies – Read
- Sensor Update Policies – Read
- Zero Trust Assessment – Read
4. Click Done when completed filling out all permissions.
5. A new window will appear with the Client ID, Secret and Base URL. Make sure to record each of those, as they will be needed when deploying the app from Azure Marketplace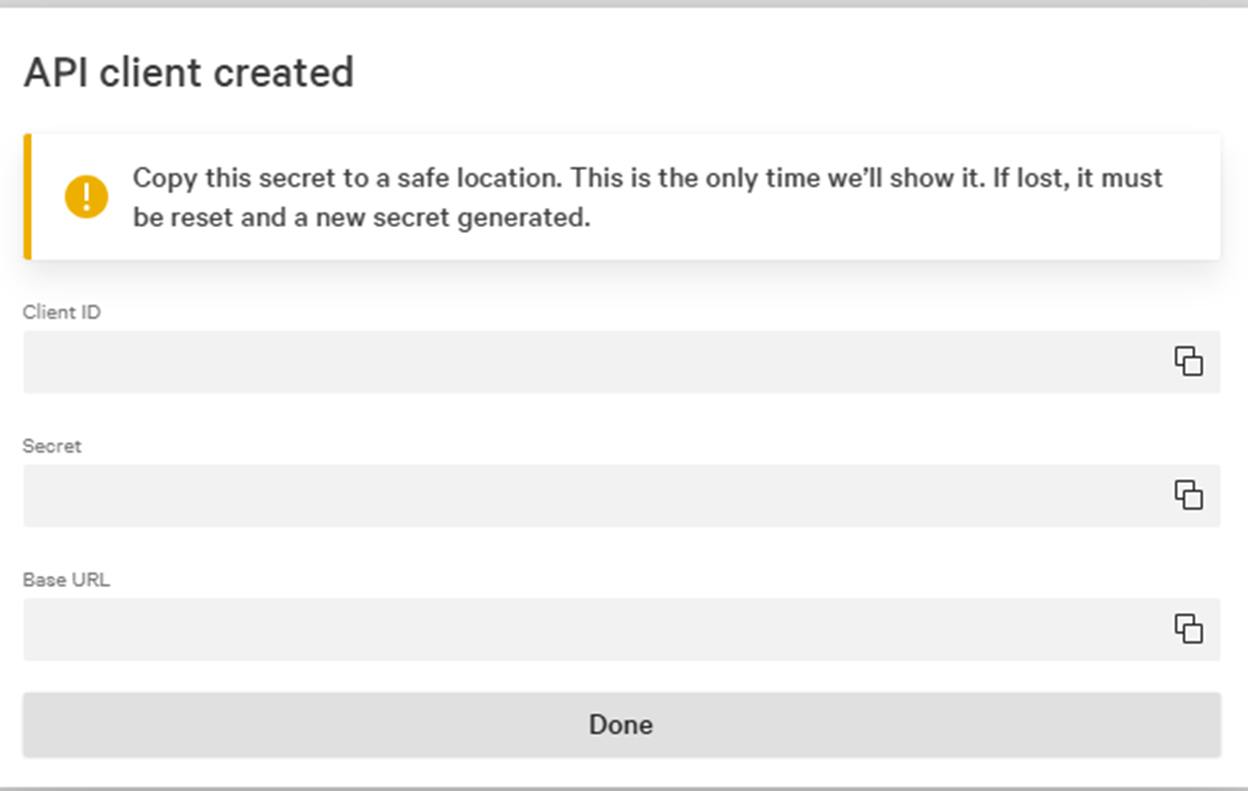
Note: if you restrict access to your CrowdStrike instance by IP address, you will need to review the App Service that was deployed from the Azure Marketplace and add those IPs to your IP Allow List allowing them to access the API (see CrowdStrike’s instructions here.)
Installing the CrowPilot Agent from the Security Store (Option 1)
- Once you have installed the infrastructure you are now ready to install the agent from the Microsoft Security Store.
- From the agent page for CrowPilot, click on Get agent as seen below.

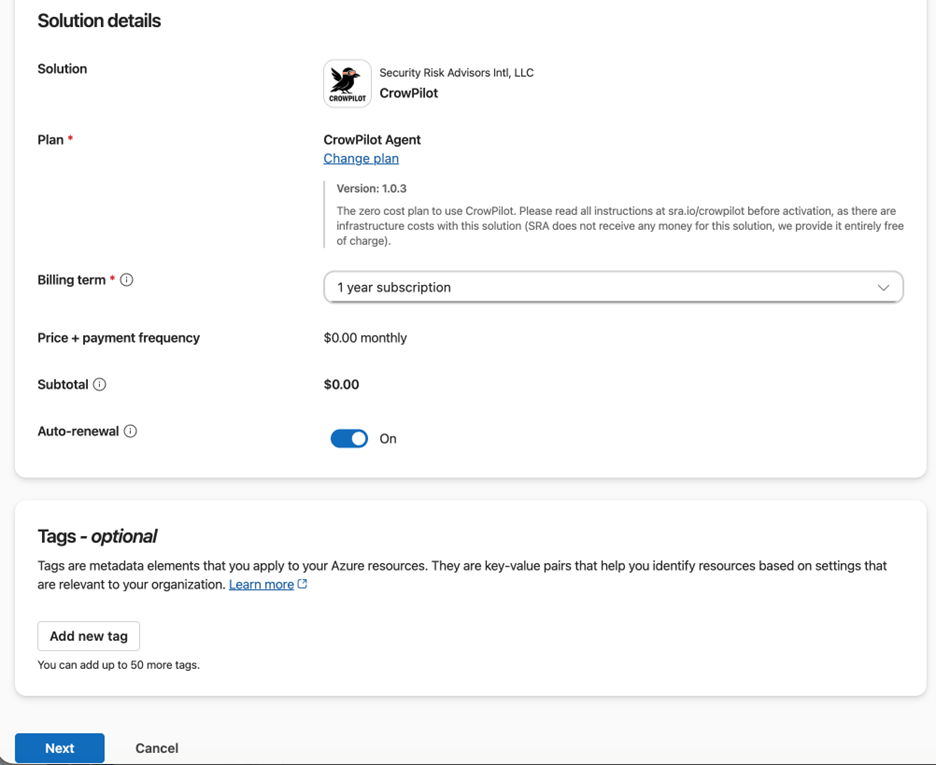
- In this new window, select the Billing Subscription and Resource group for the agent. Also provide a unique resource name for the agent.

- Scroll down to add tags, if desired, and leave the Plan and Billing terms set to default (SRA is not charging for CrowPilot). Click Next.
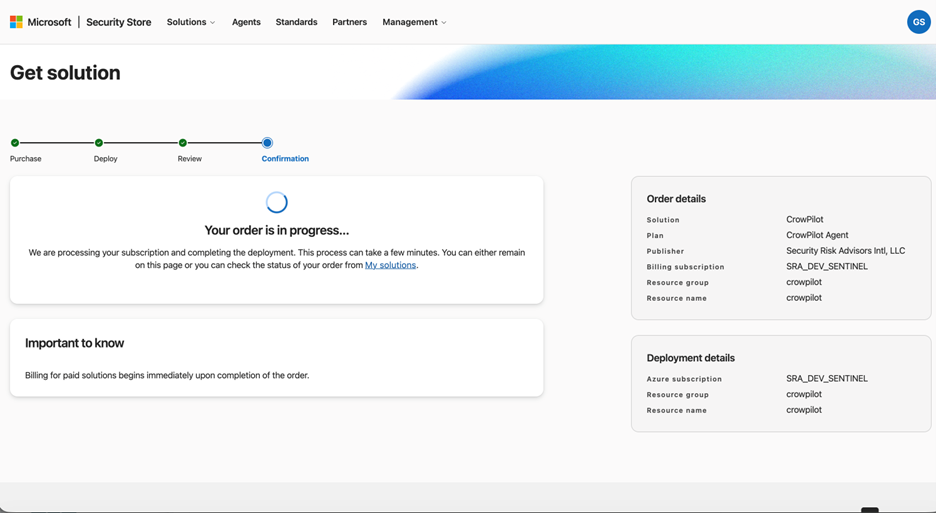
- Click next through the next screens until the install begins and you see the screen below.
- We will now need to setup two different parts of CrowPilot, the agent and more importantly the included Plugin. We will start first with the agent. Click the “Go to agent” button, or launch Microsoft Security Copilot -> Agents and click “Go to agent” next to the CrowPilot agent.
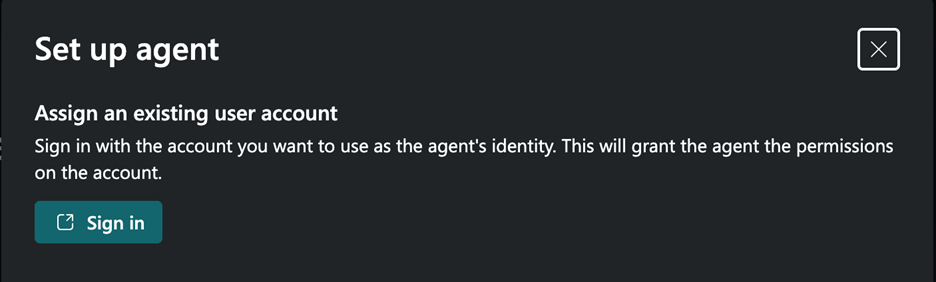
- On this agent’s screen click Set up as seen below

- You will now be prompted to sign in with an account that will be used as the agent’s identity. Once done, click Next.
- Next up you can give your agent instructions to run. We recommend holding pff on this for now, and utilizing the chat capabilities directly, as opposed to using any triggers. There are a lot of options at your disposal for CrowPilot, and most of which you want to kickoff manually, or through a workflow.
- Once setup is complete, go to Home and click on Sources as seen below

- This will bring up the plug-ins for Copilot. As seen below.
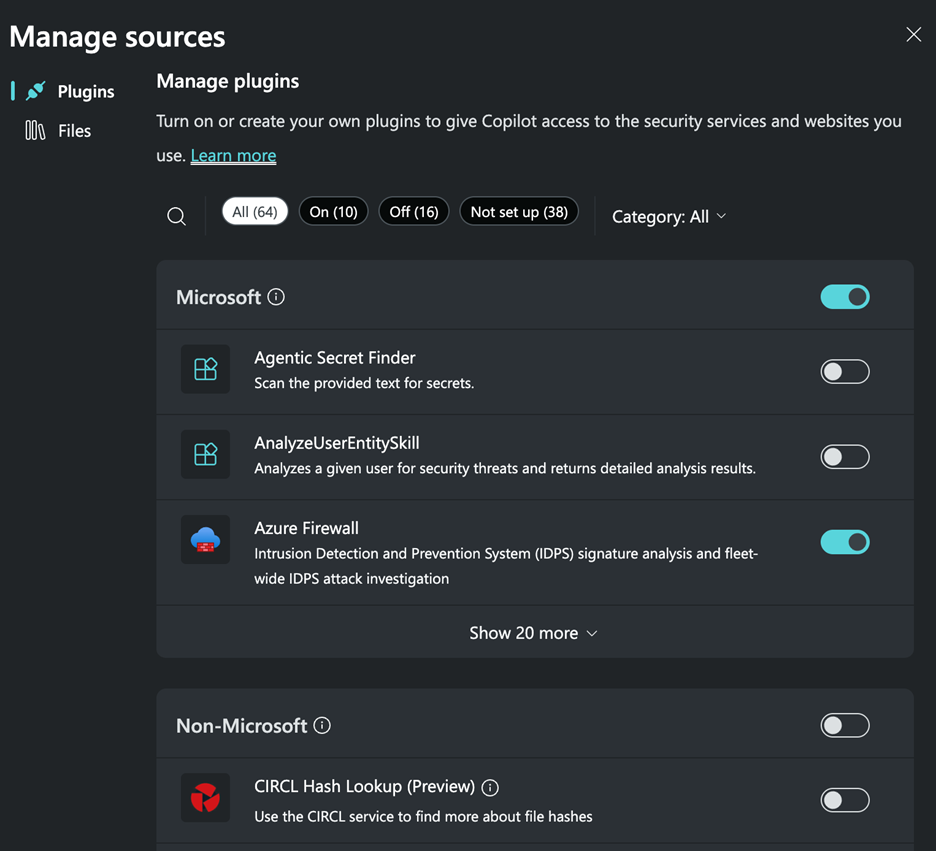
- Scroll down to CrowPilot under Non-Microsoft plugins and click Set up

- Enter in the infrastructure information during the install (the URL of the CrowPilot infrastructure and your API Key you created when deploying the infrastructure (this is not your CrowdStrike API key, it is the API key you entered when deploying CrowPilot through the Azure Marketplace).

- You are now all setup! Go and test out CrowPilot!
Installing the Plug-in Only (Option 2- not necessary if installing with Option 1)
1. Navigate to securitycopilot.microsoft.com.
2. In the chat input box, click on the Sources icon as seen below

3. Scroll down to the bottom of this new window to the Custom section and click the Upload Plugin button.

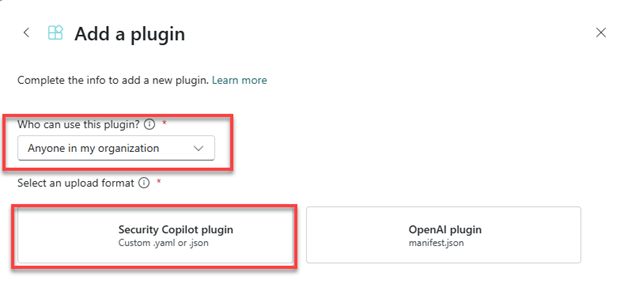
4. The Add a plugin window appears. Here, choose whether to add the functionality to anyone in your organization or just yourself, then click on the Security Copilot plugin button as seen below.
5. New options will appear in the window. Click the slider labeled Upload as a link.

6. The Upload file section will be replaced with a text box and a drop down as seen below:
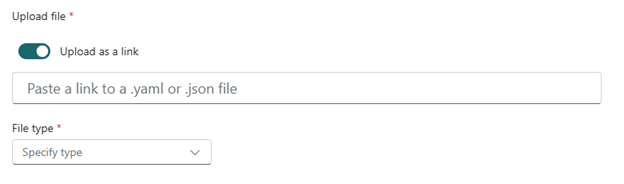
7. For the File type select .yaml.
8. For the link copy and paste: https://raw.githubusercontent.com/SecurityRiskAdvisors/azure-security-tools/refs/heads/main/CrowPilot/plugin.yaml
9. The plugin will now be added, but not yet configured:
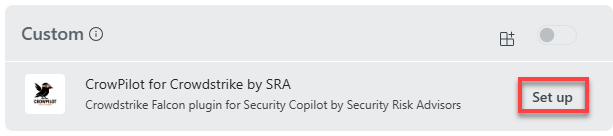
10. You should not automatically be taken back to the Manage sources section. Scroll back down to Custom click the Setup button next to CrowPilot for CrowdStrike by SRA.
11. The window below will now appear. You will need the URL of the App Service, and the API key setup in the CrowPilot from Azure Marketplace section above. (Note: when entering the URL, make sure you include the ‘https://’ as copying directly out of Azure will not include that portion of the URL.)

12. Once the information is entered, click Save in the bottom right and CrowPilot is ready to go (Note, if you have IP restrictions on your CrowdStrike console you will need to continue to the Allowing CrowPilot to Connect to CrowdStrike section below)
(Optional) Allowing CrowPilot to Connect to CrowdStrike
Note: This step is only required if you limit access to your CrowdStrike console based on IP addresses.
1. In the Azure portal, navigate to the newly created App Service called “CrowPilot”, or the name you designated during the deployment phase if modified.
2. From the Overview section, scroll to the bottom of the page in the right pane to see Networking, as seen below.

3. Record the IP addresses in the Outbound IP addresses and the Additional Outbound IP addresses
4. With the IP addresses from step 3, follow CrowdStrike’s documentation provided here to add these IPs to a new IP Group. (Note: Ensure that the once created you turn the IP Group on, as it will be off by default).